3.3 KiB
Features
This should be a standard, fully-featured Neovim GUI. Beyond that there are some visual niceties listed below :)
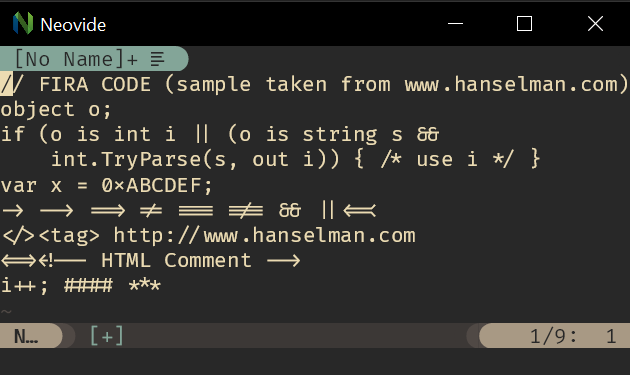
Ligatures
Supports ligatures and font shaping.
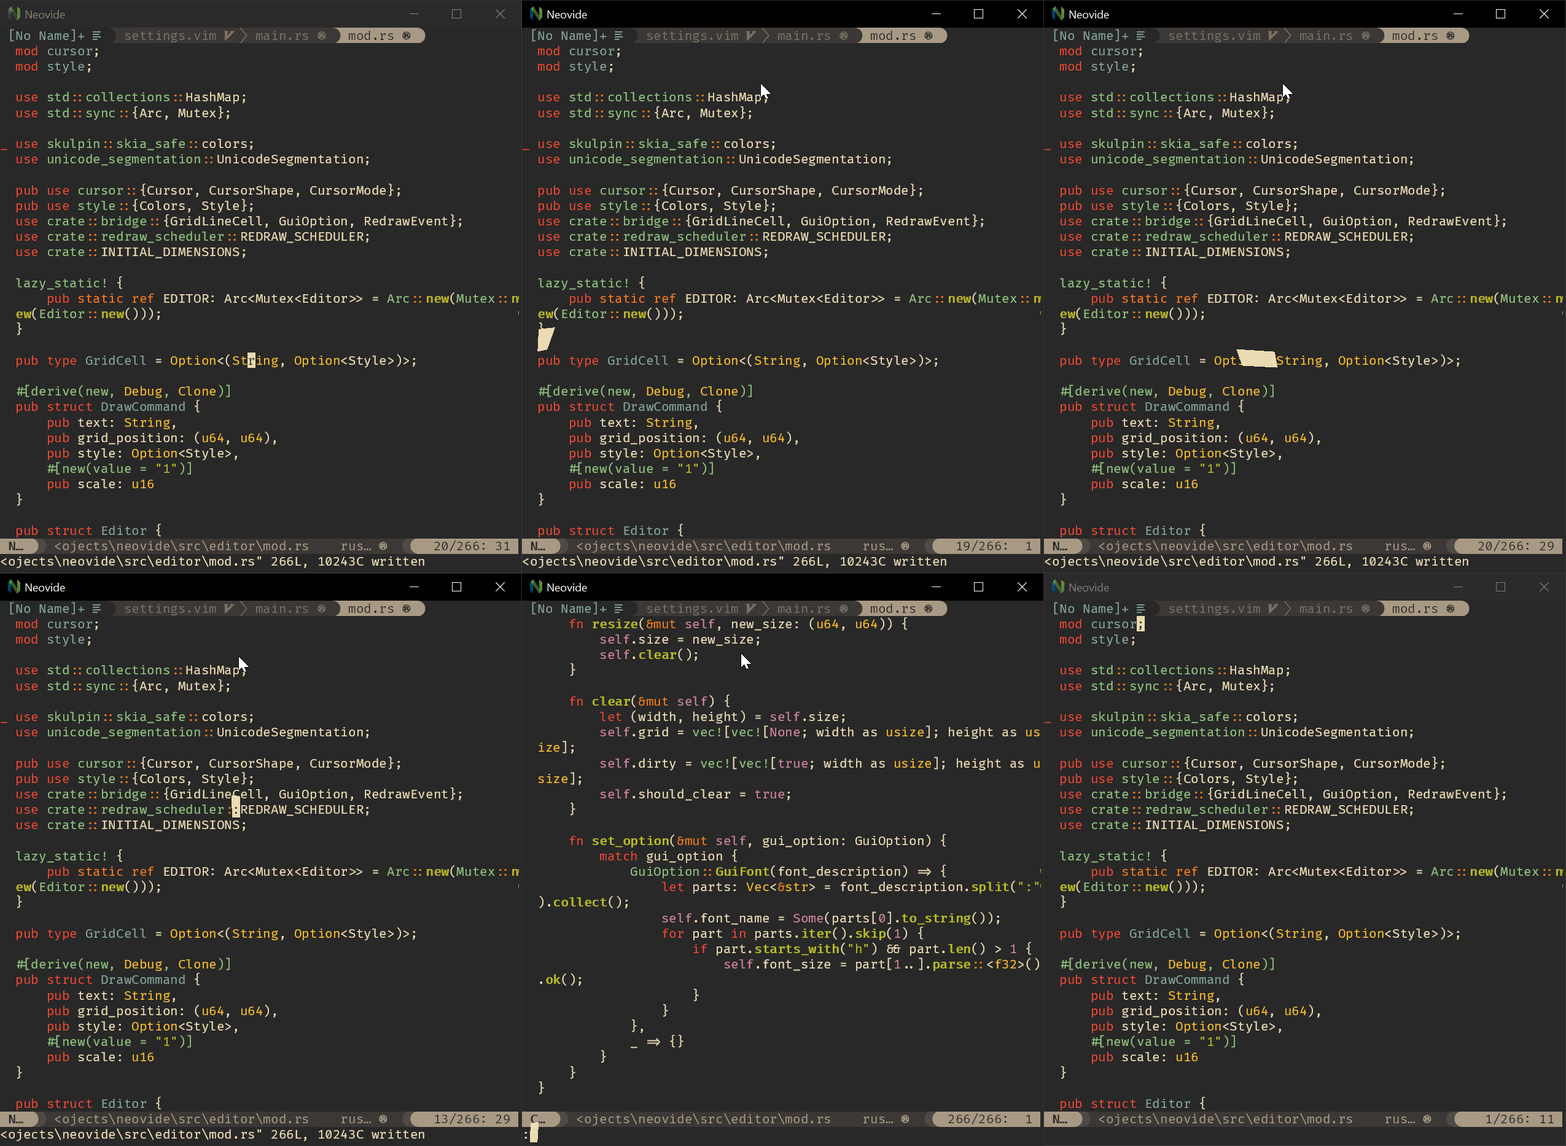
Animated Cursor
Cursor animates into position with a smear effect to improve tracking of cursor position.
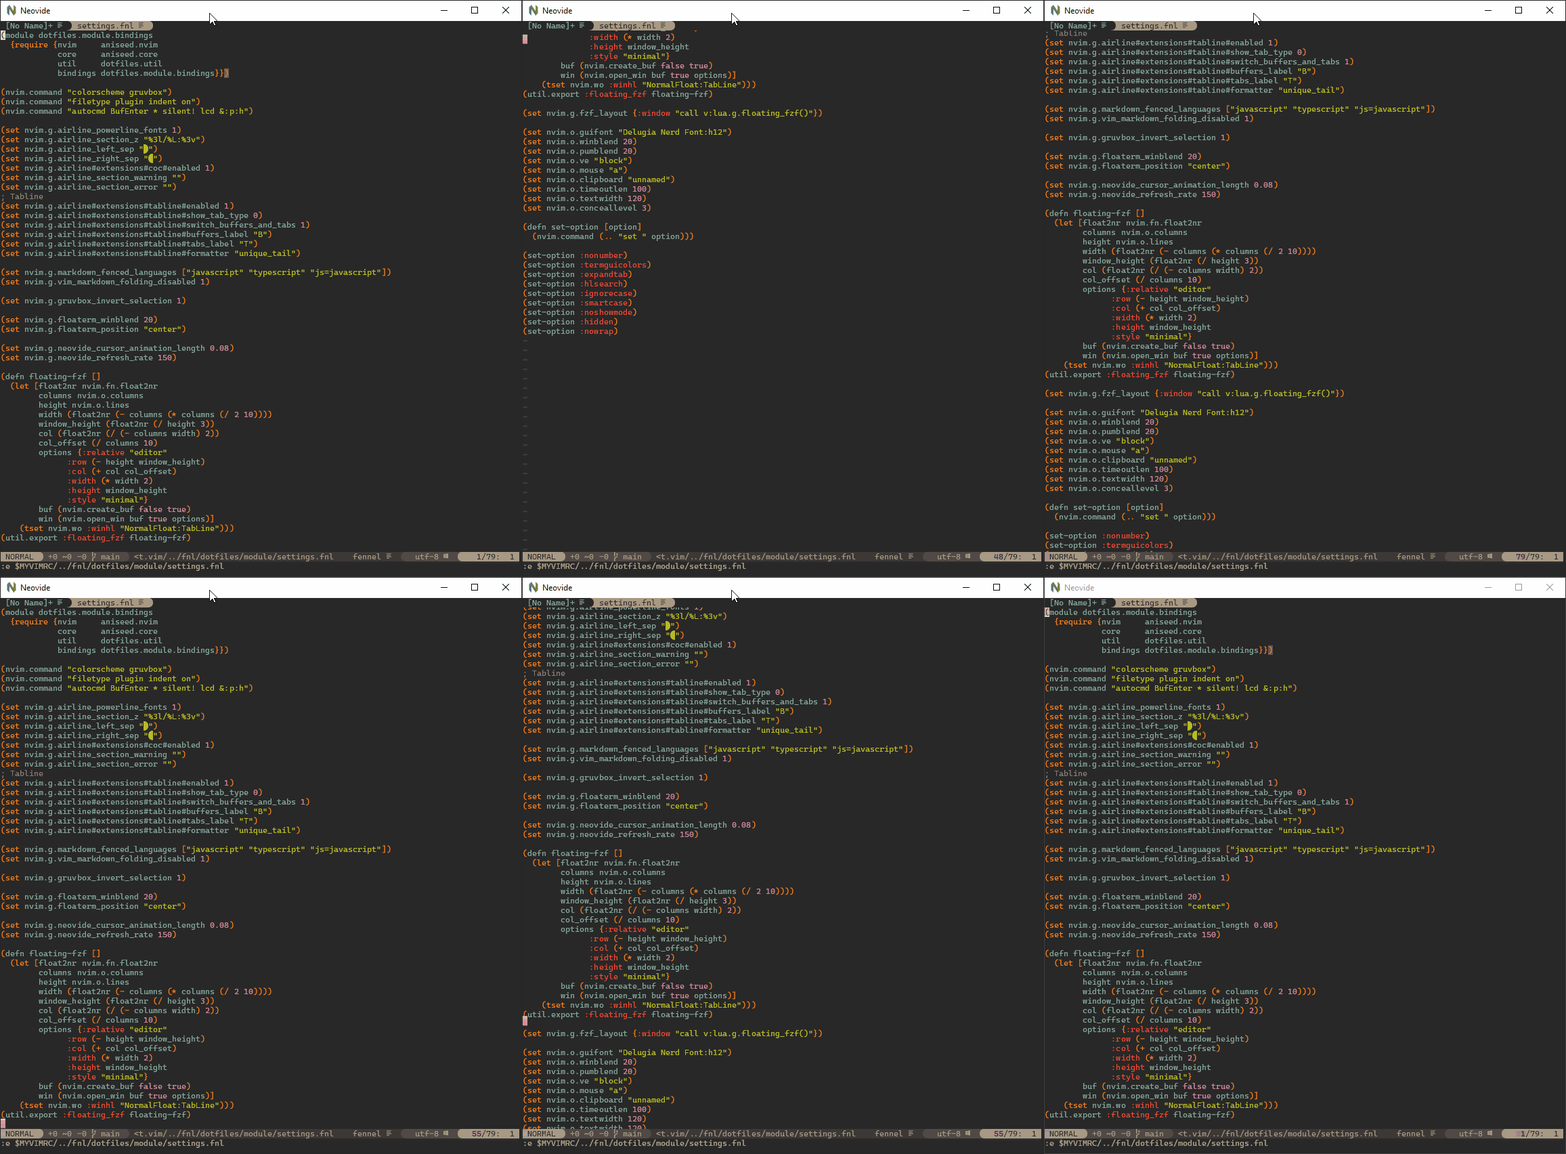
Smooth Scrolling
Scroll operations on buffers in neovim will be animated smoothly pixel wise rather than line by line at a time.
Note: multigrid must be enabled for this to work.
Animated Windows
Windows animate into position when they are moved making it easier to see how layout changes happen.
Note: multigrid must be enabled for this to work.
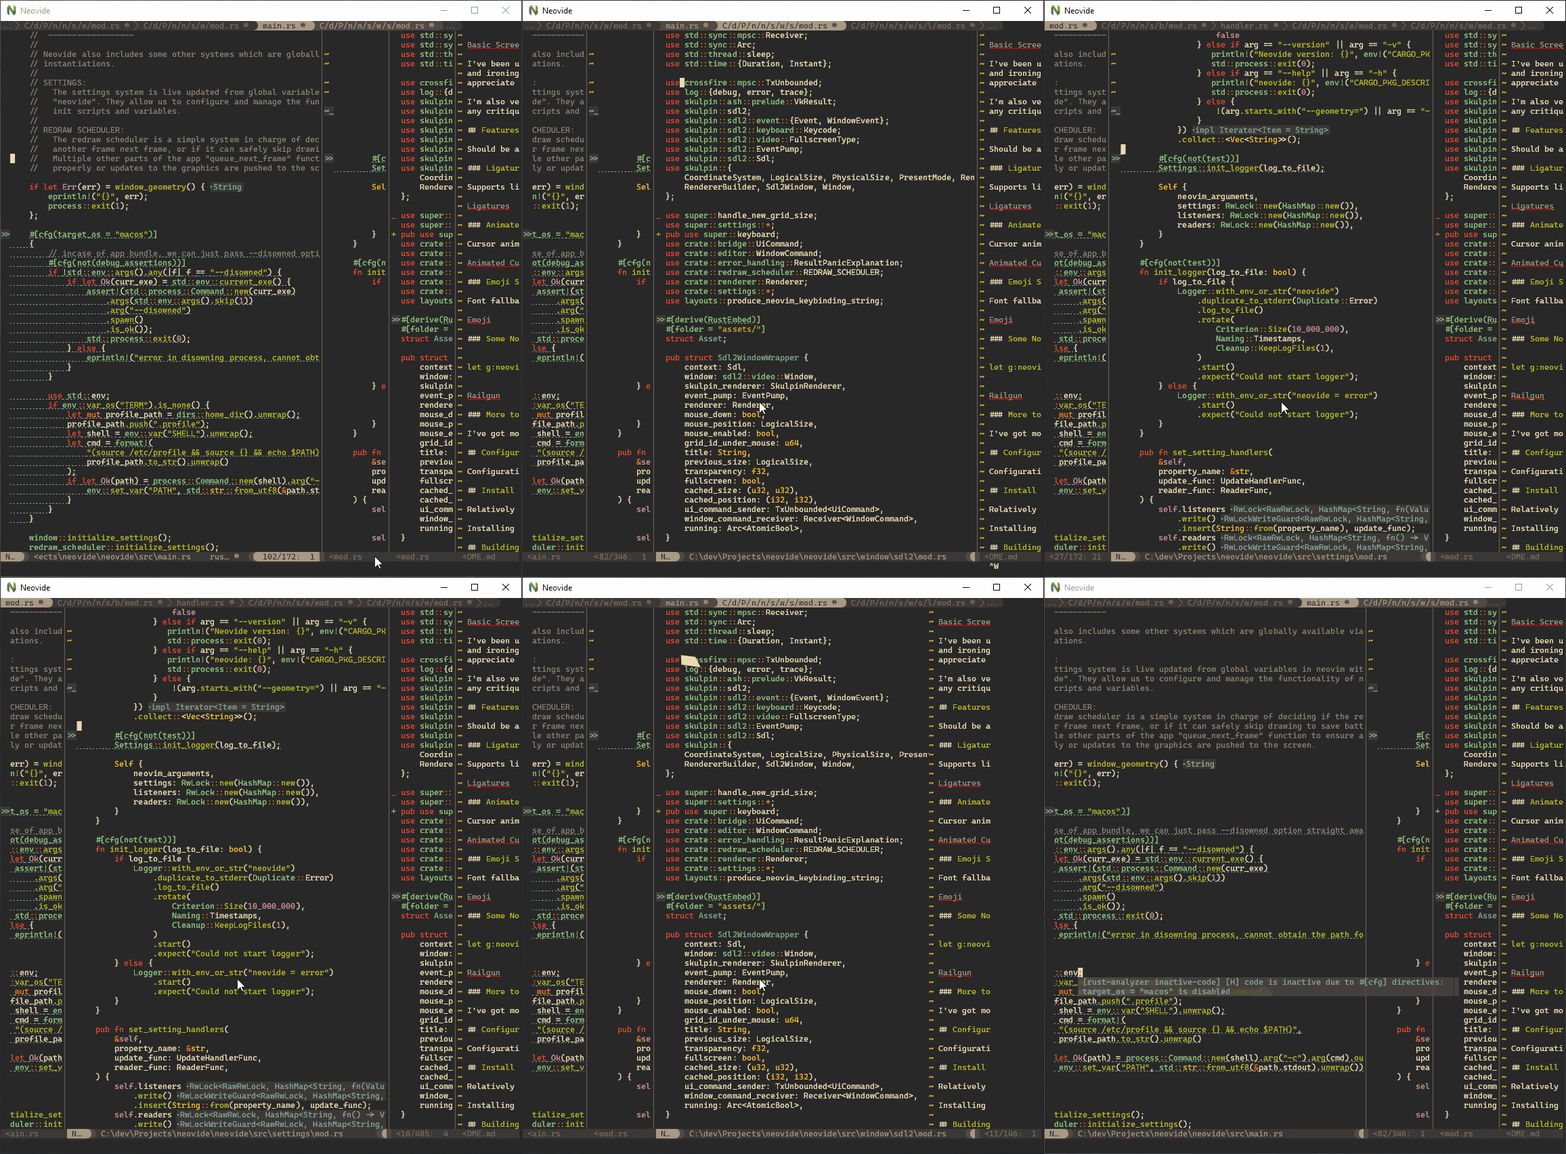
Blurred Floating Windows
The backgrounds of floating windows are blurred improving the visual separation between foreground and background from built in window transparency.
Note: multigrid must be enabled for this to work.
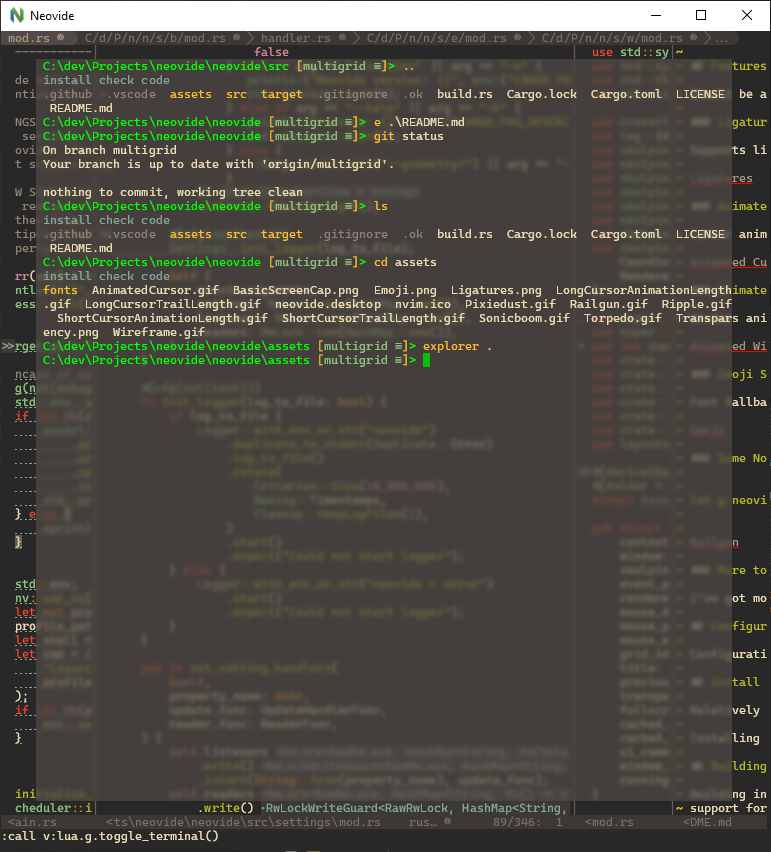
Emoji Support
Font fallback supports rendering of emoji not contained in the configured font.
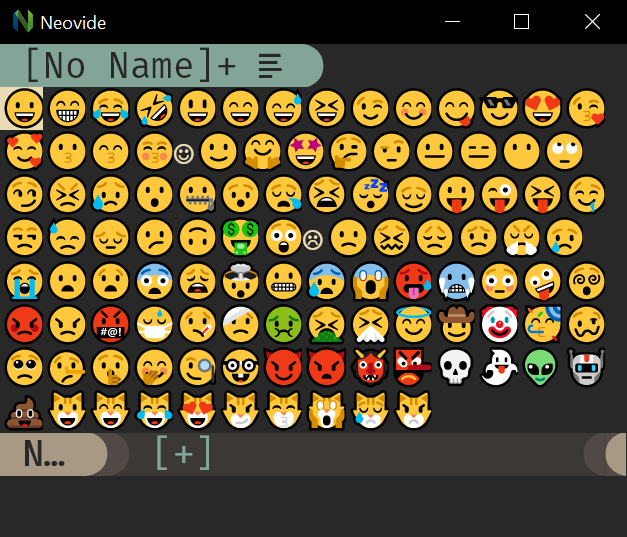
WSL Support
Neovide supports displaying a full gui window from inside wsl via the --wsl command argument.
Communication is passed via standard io into the wsl copy of neovim providing identical experience
similar to Visual Studio Code's
Remote Editing.
Remote TCP Support
Neovide supports connecting to a remote instance of Neovim over a TCP socket via the --remote-tcp
command argument. This would allow you to run Neovim on a remote machine and use the GUI on your
local machine, connecting over the network.
Launch Neovim as a TCP server (on port 6666) by running:
nvim --headless --listen localhost:6666
And then connect to it using:
/path/to/neovide --remote-tcp=localhost:6666
By specifying to listen on localhost, you only allow connections from your local computer. If you are actually doing this over a network you will want to use SSH port forwarding for security, and then connect as before.
ssh -L 6666:localhost:6666 ip.of.other.machine nvim --headless --listen localhost:6666
Finally, if you would like to leave the neovim server running, close the neovide application window
instead of issuing a :q command.
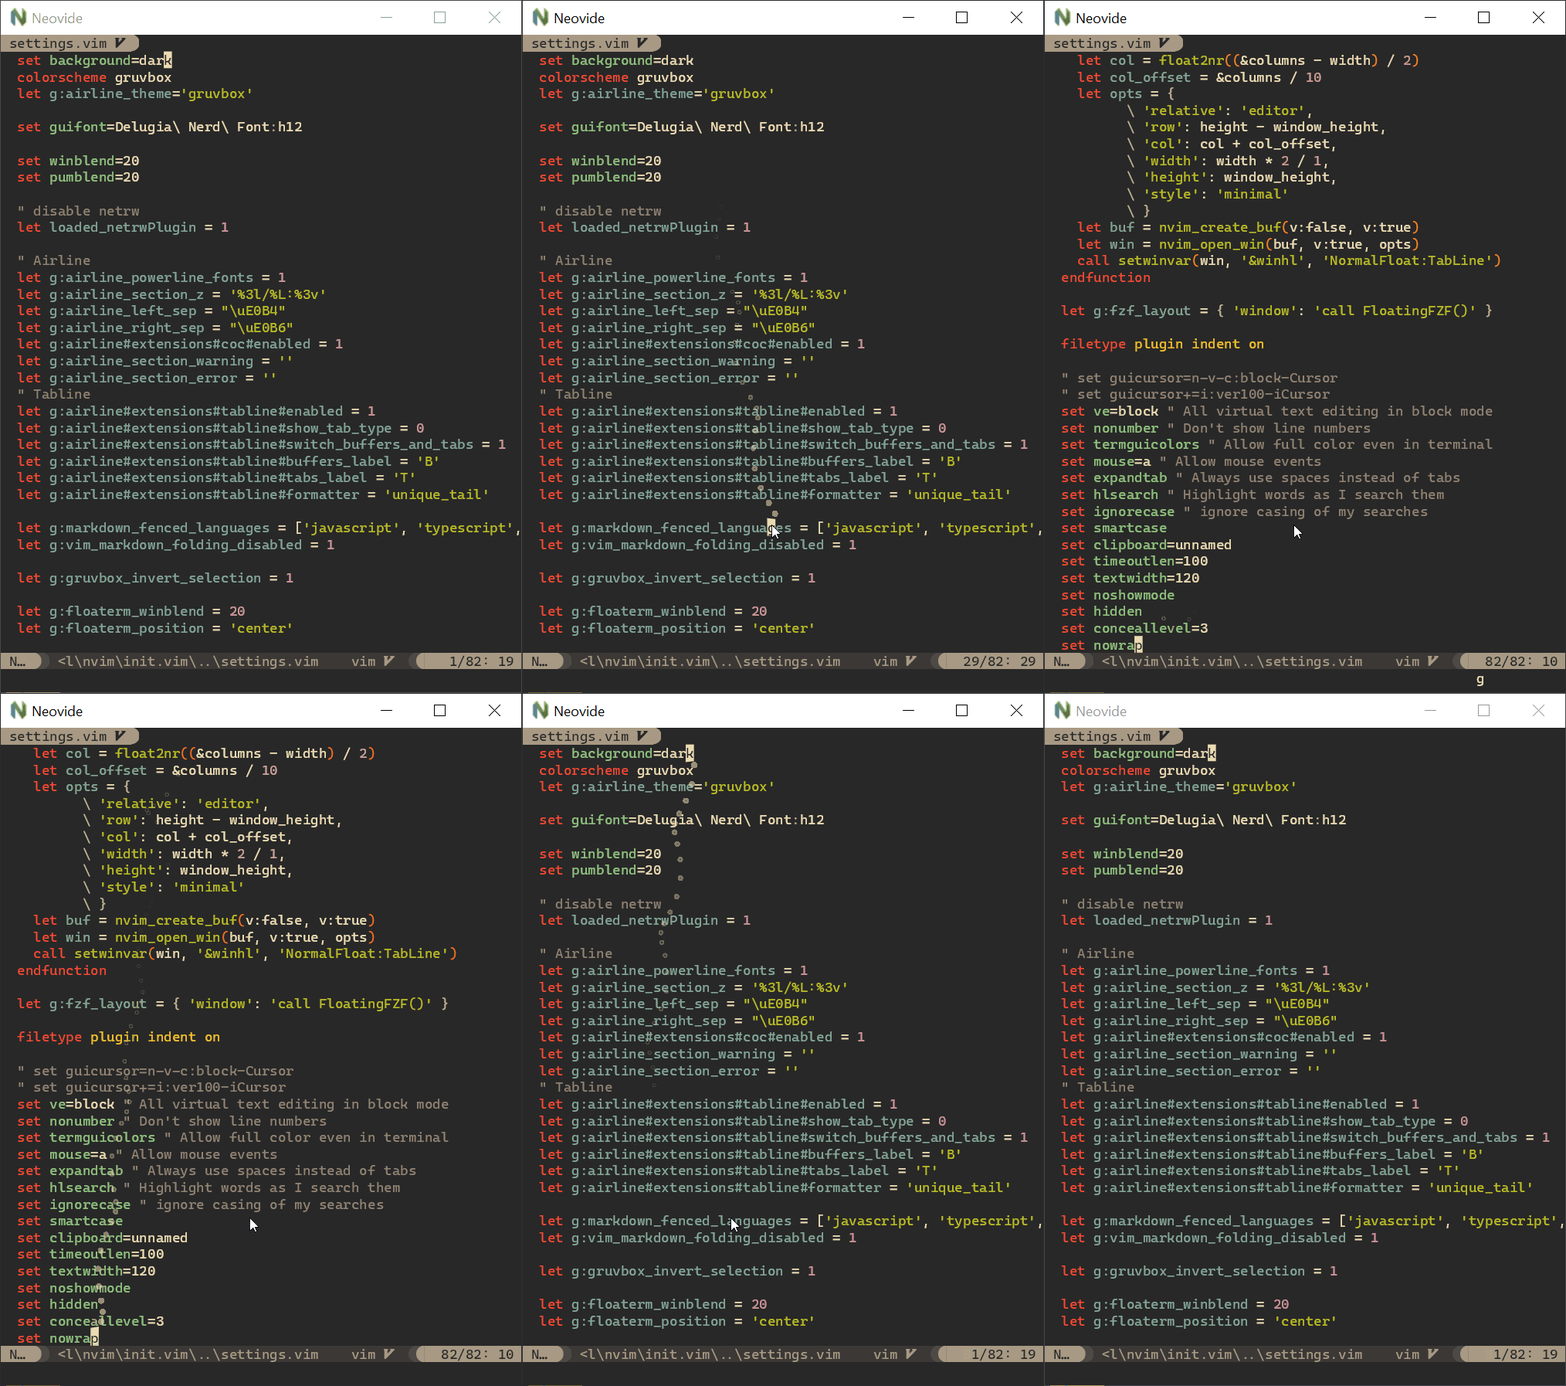
Some Nonsense ;)
To learn how to configure the following, head on over to the configuration section!
Railgun
Torpedo
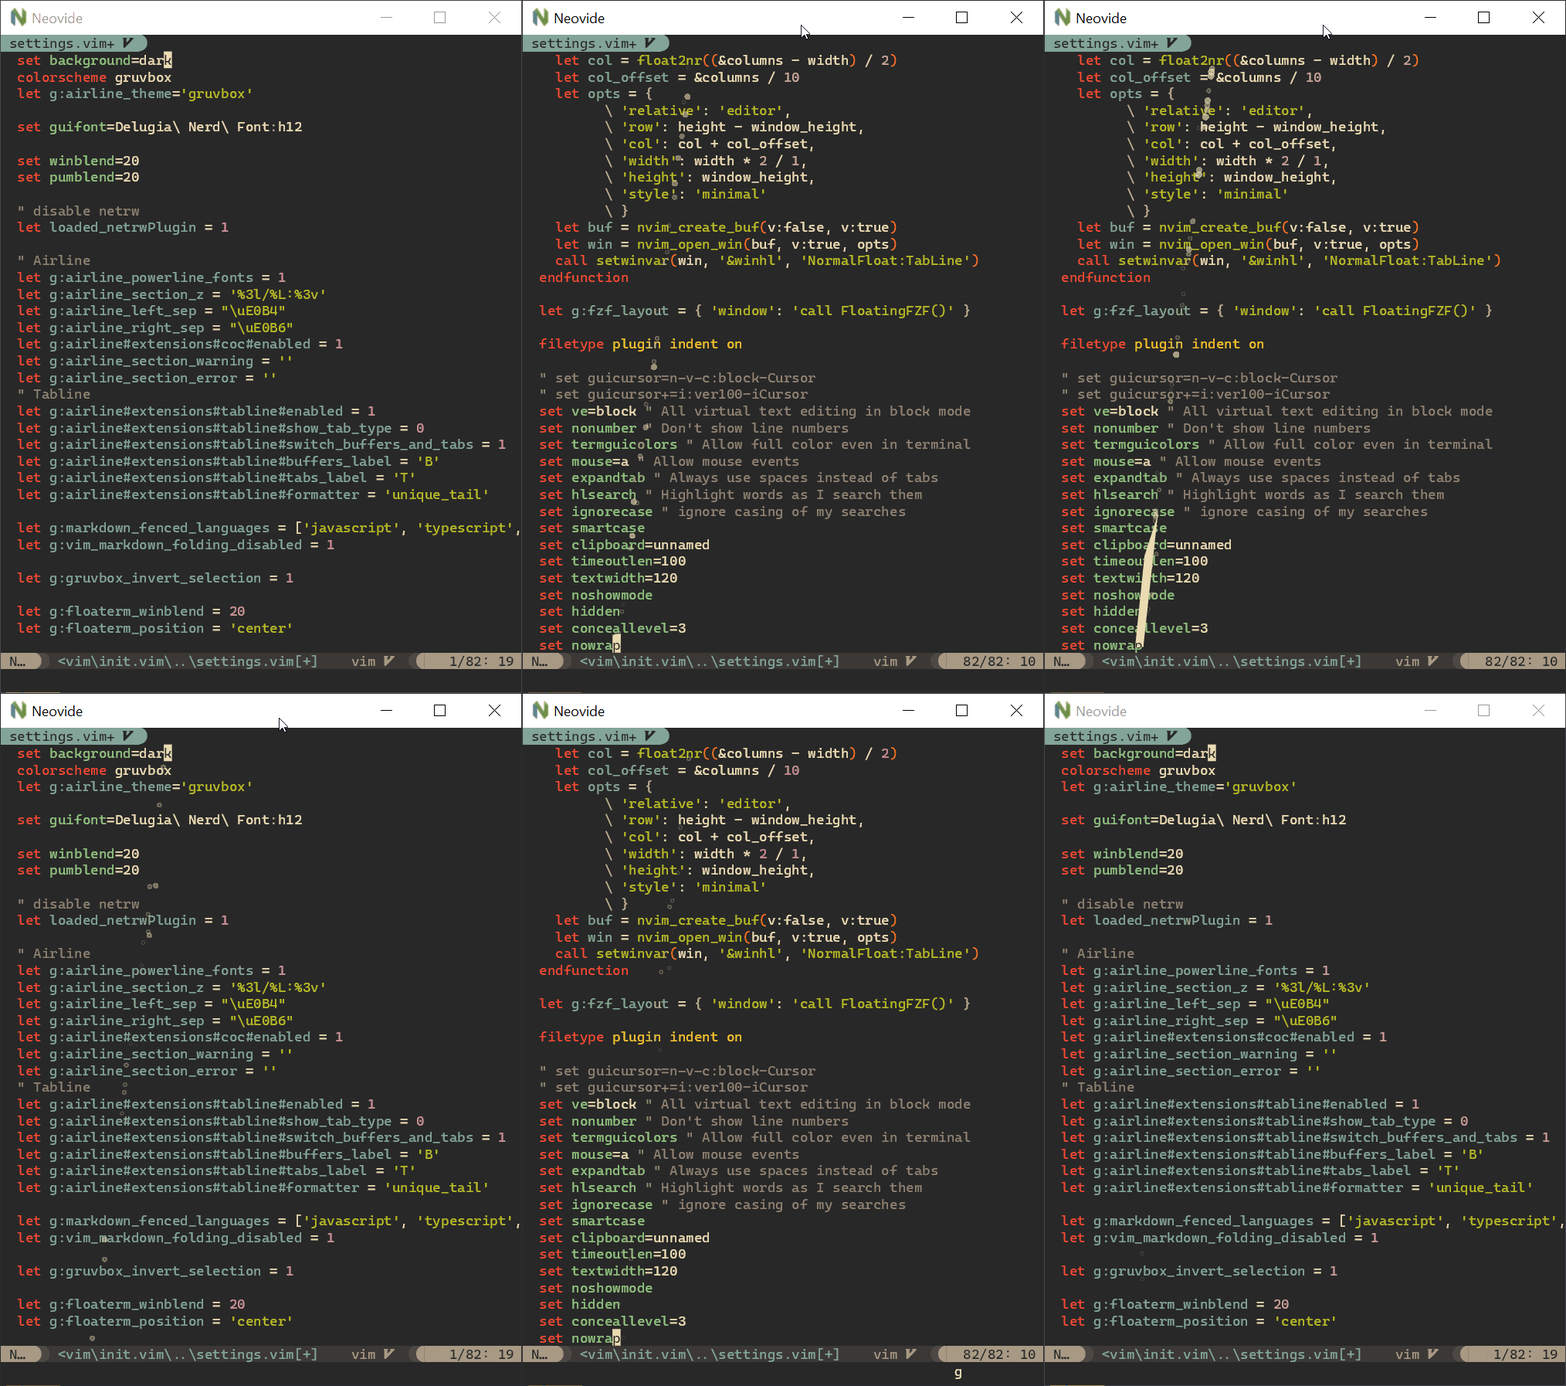
Pixiedust
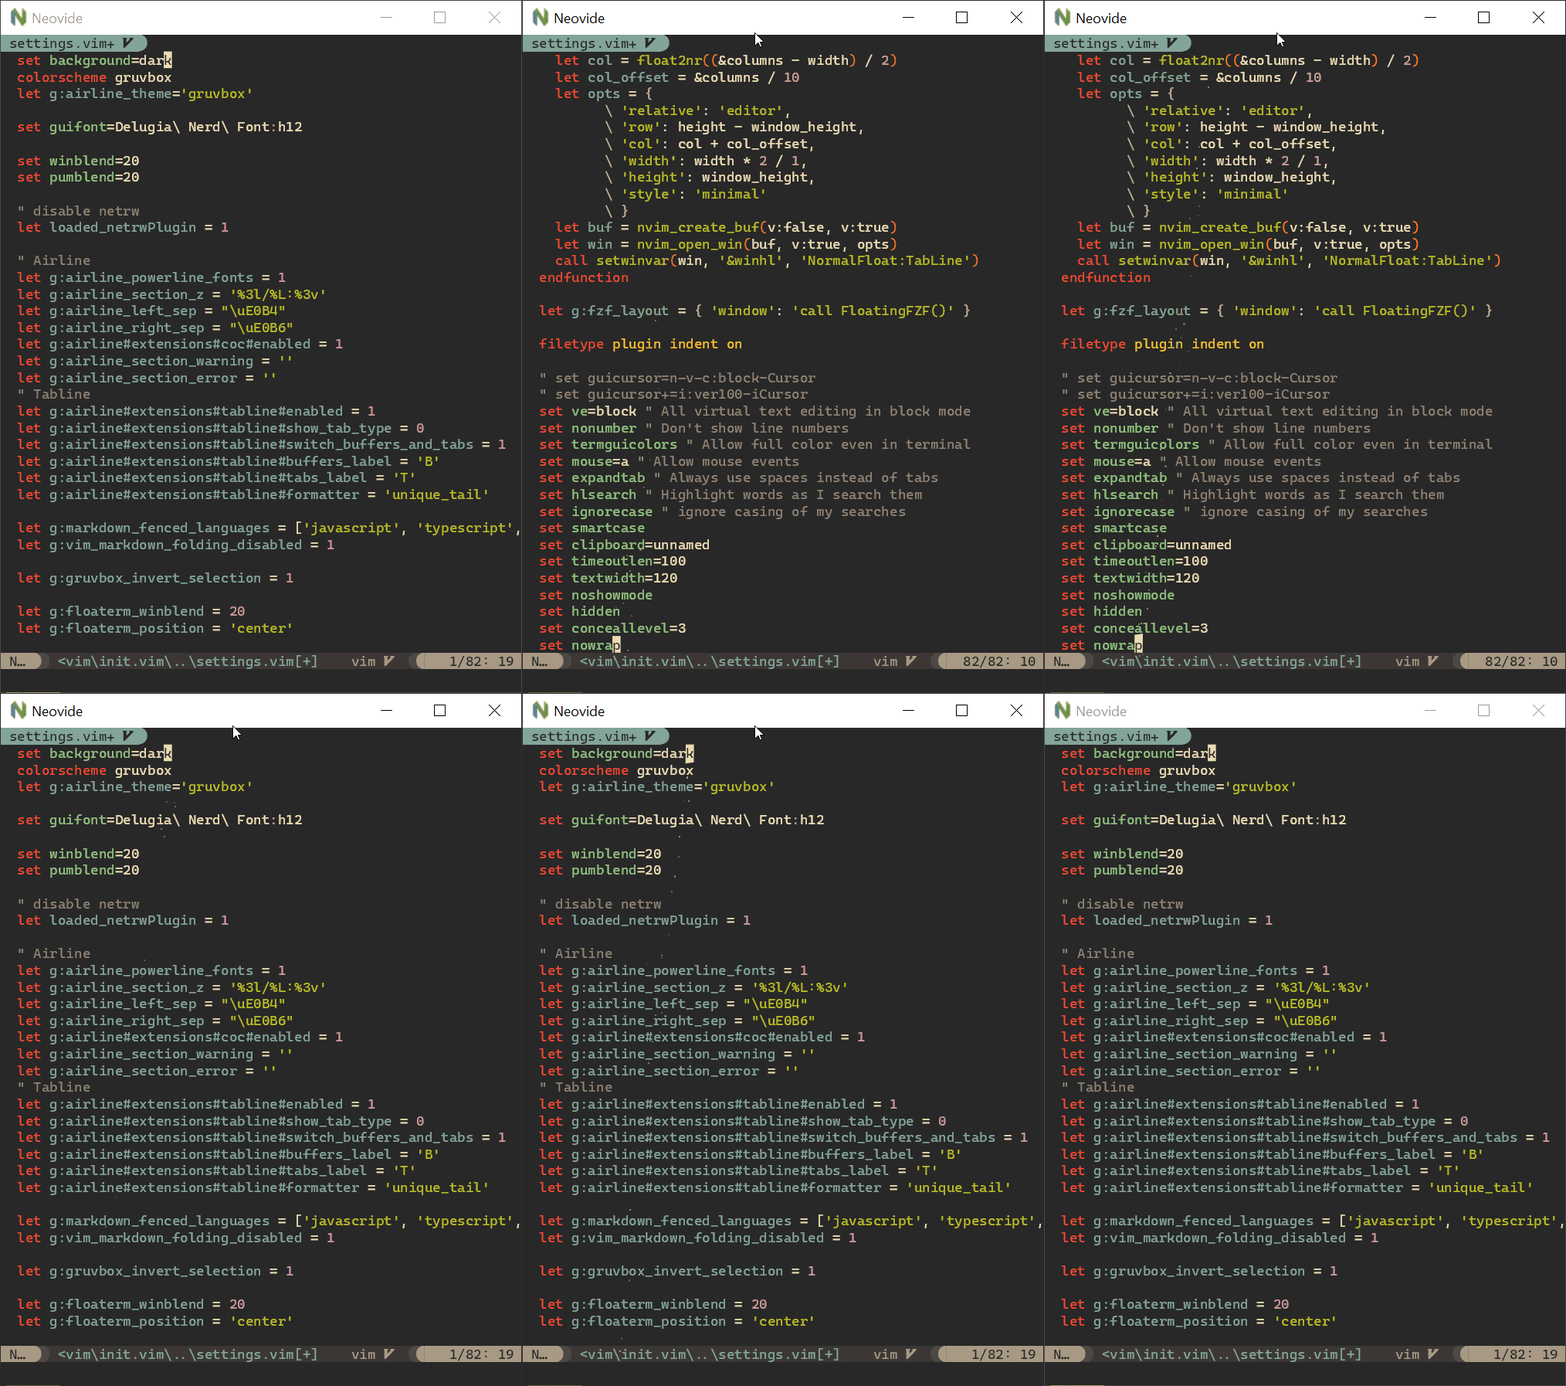
Sonic Boom
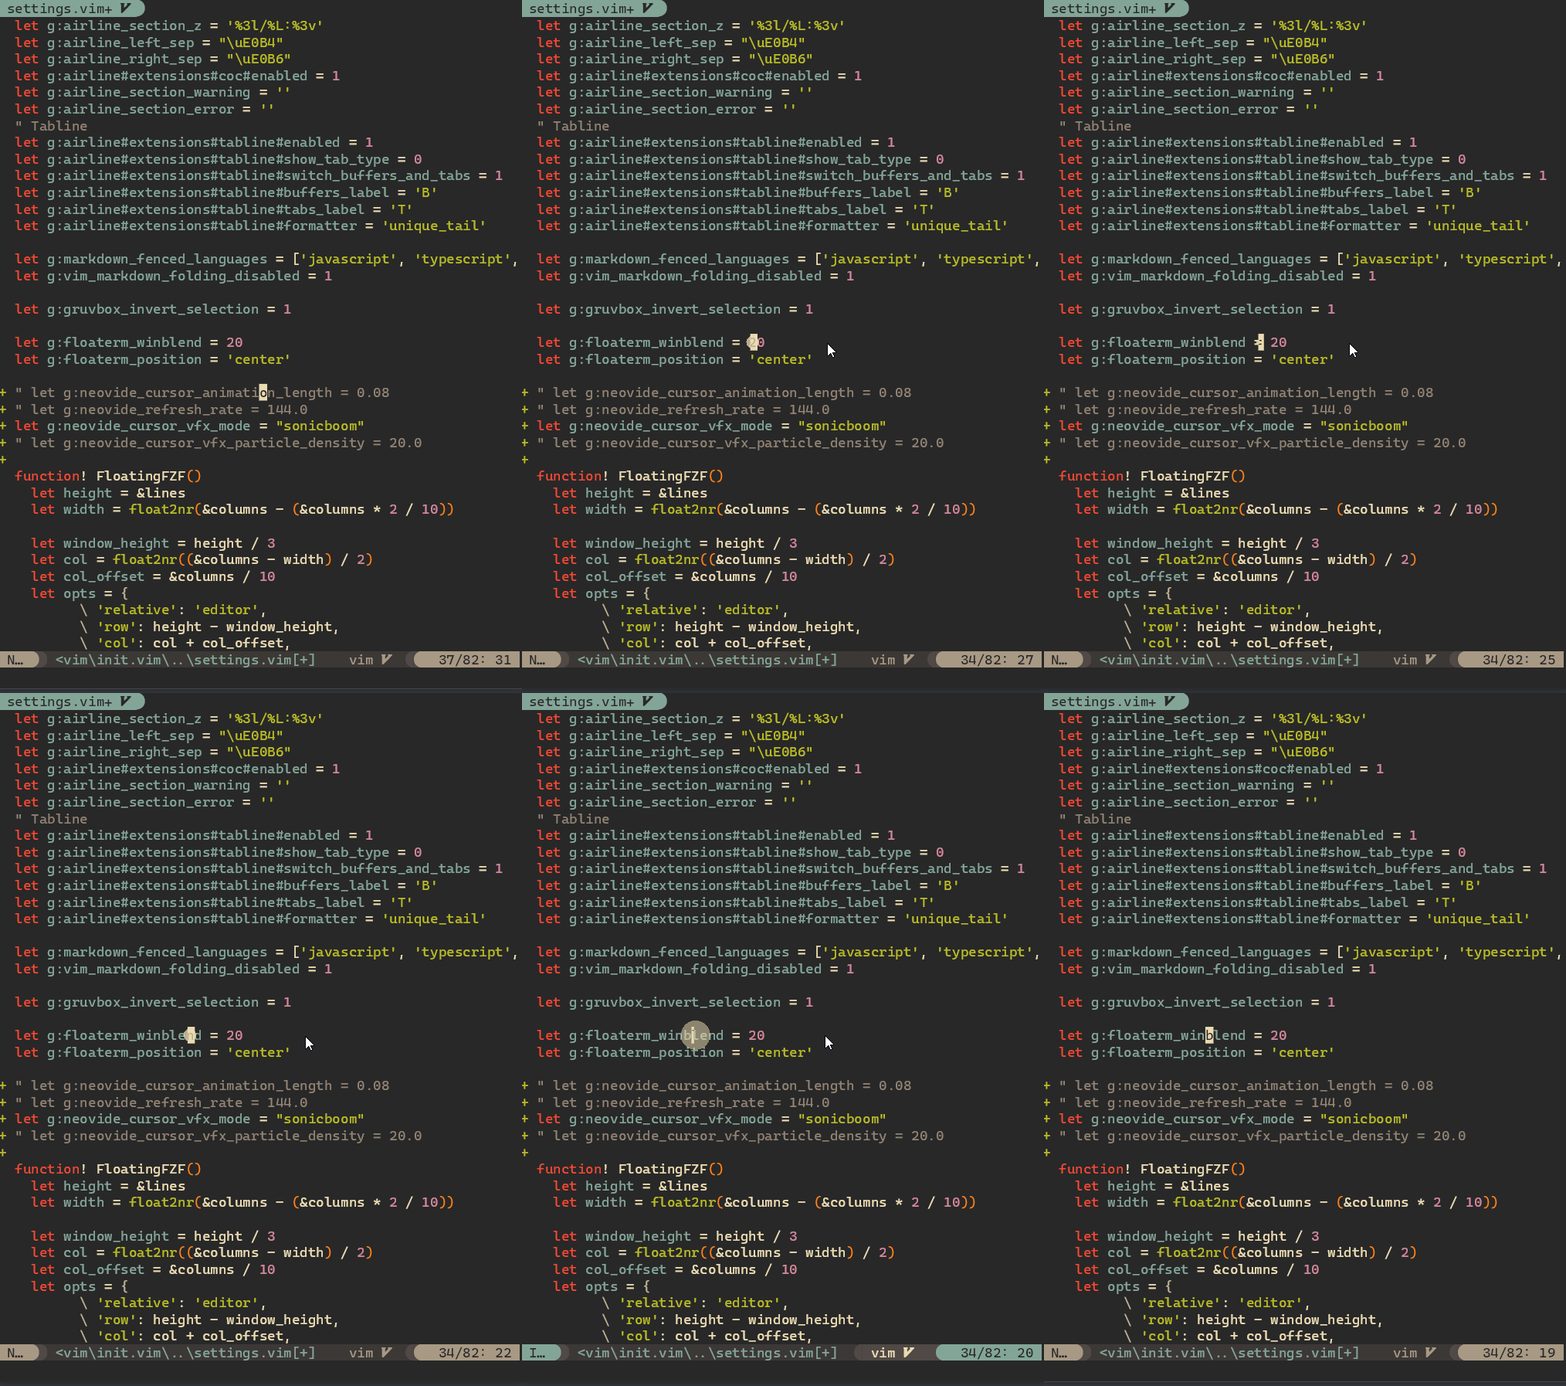
Ripple
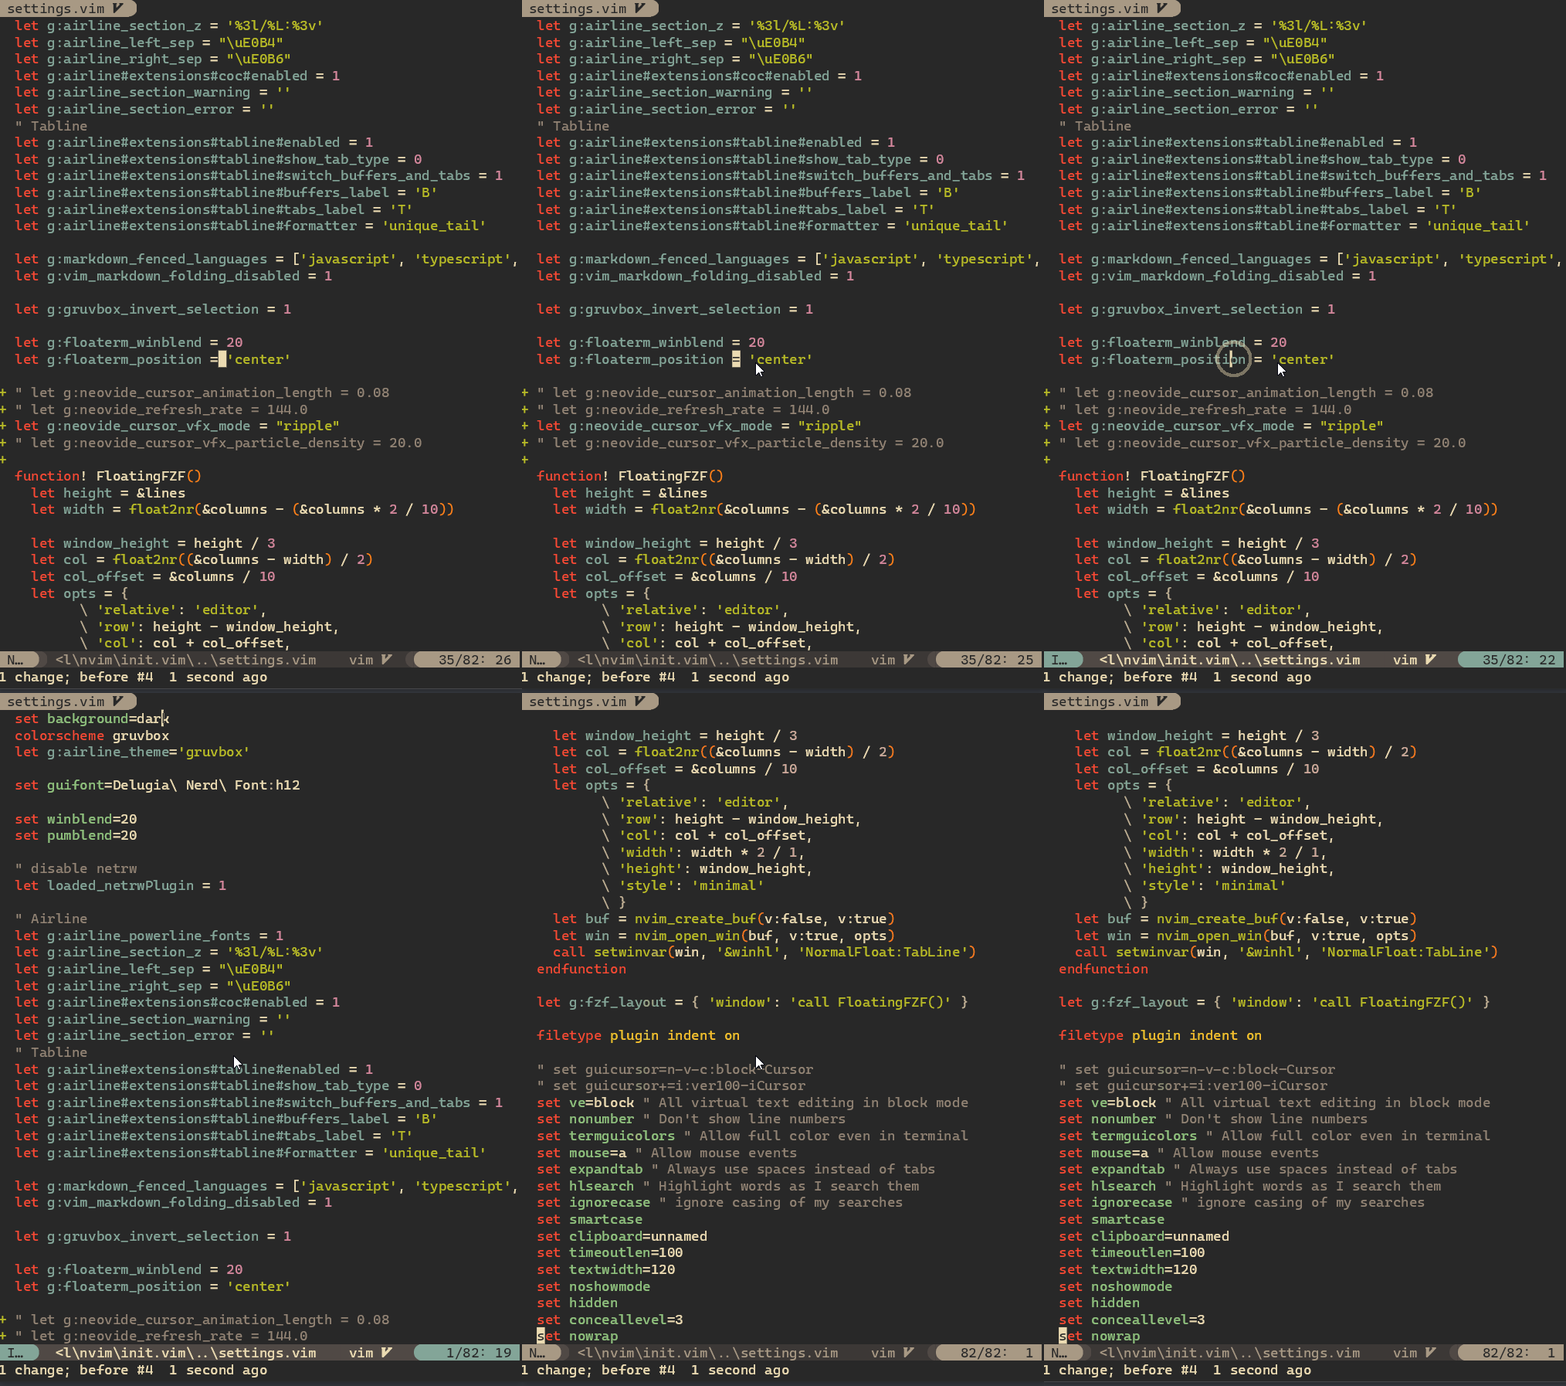
Wireframe
